


End-Of-Month Volume Calculation: Surpac
The Pit Floor:
There is a repetitive process in Open Pit Mining, which includes not only Digging out more Ore as Fast as possible. But also to keep the process Economically Viable, it is important to Monitor Volumes at the End of each Month.
This Reporting can help monitor not only where Capital is better allocated, but also where it can be better re-invested.
As a New Pit Floor is created, the new Surface Level needs to be Surveyed, a TBM introduced, Grade Control carried out and a Drill Holes marked out for Blasting purposes.
Digitally this can all be recorded in Surpac, and our above Video shows, the EOM Reporting in Detail.
Differentiating:
The First Step in Surpac for Creating End-Of-Month Reporting is to Bring in your Original Open Pit Model, along with our New Collected Data Model and place them in Separate Layers.
TIP: ‘Find Out More About Layering in Surpac’.
By Holding down the, ‘Ctrl’ Key, while dragging in a .str File, Surpac ensures that the File will appear on the Working Graphics Layer. To bring a separate File into a different layer, this can be achieved, by, not holding down the, ‘Ctrl’ Key while dragging in a .str File.
You can then toggle the Eyeball Icons to differentiate between the two different Models.
The Next Step is to change the Colour of the Newly Collected Data Model so it can be easily distinguished from the Original or ‘Base’ Model.
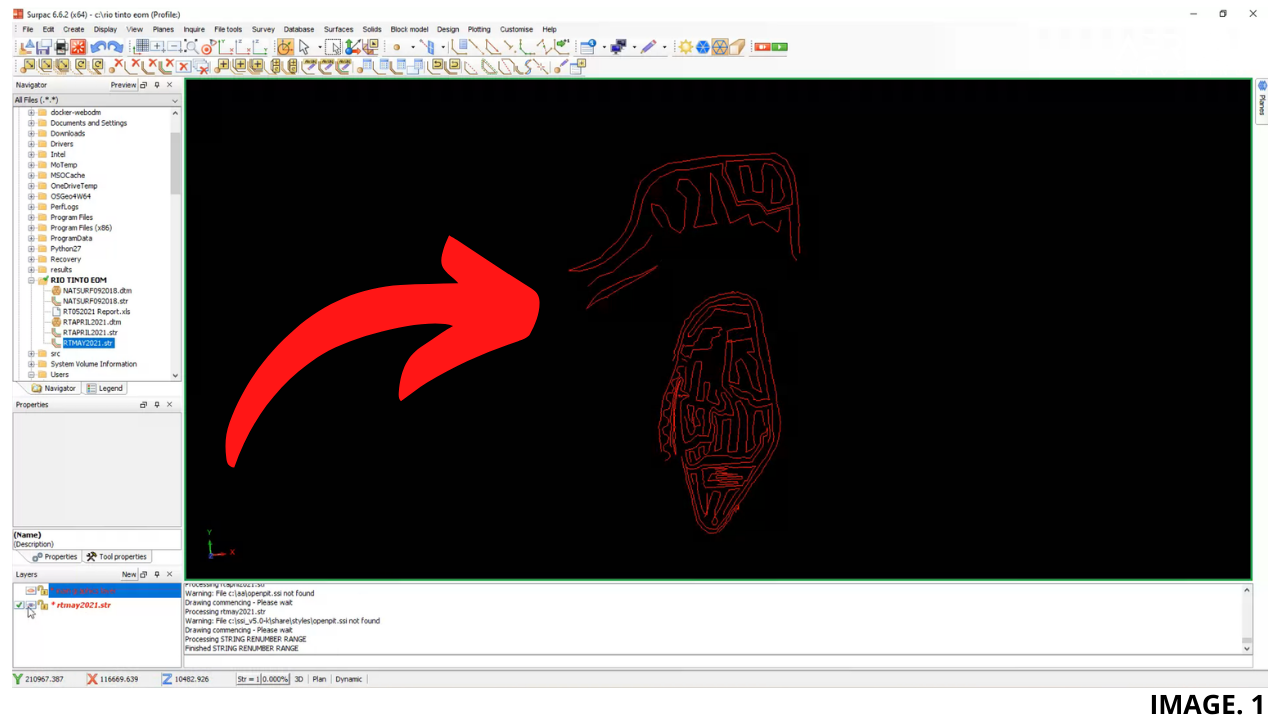
In Surpac we do this by Clicking; EDIT >> STRING >> RENUMBER RANGE >> STRING RANGE = 8.
The Reason we Change our Strings to No. 8, is because in Surpac, the Colour RED is Automatically Applied to String 8 as a Default.
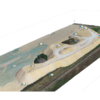
Image. 1 shows the New Pickup or, ‘String 8’, in RED:
Trimming:
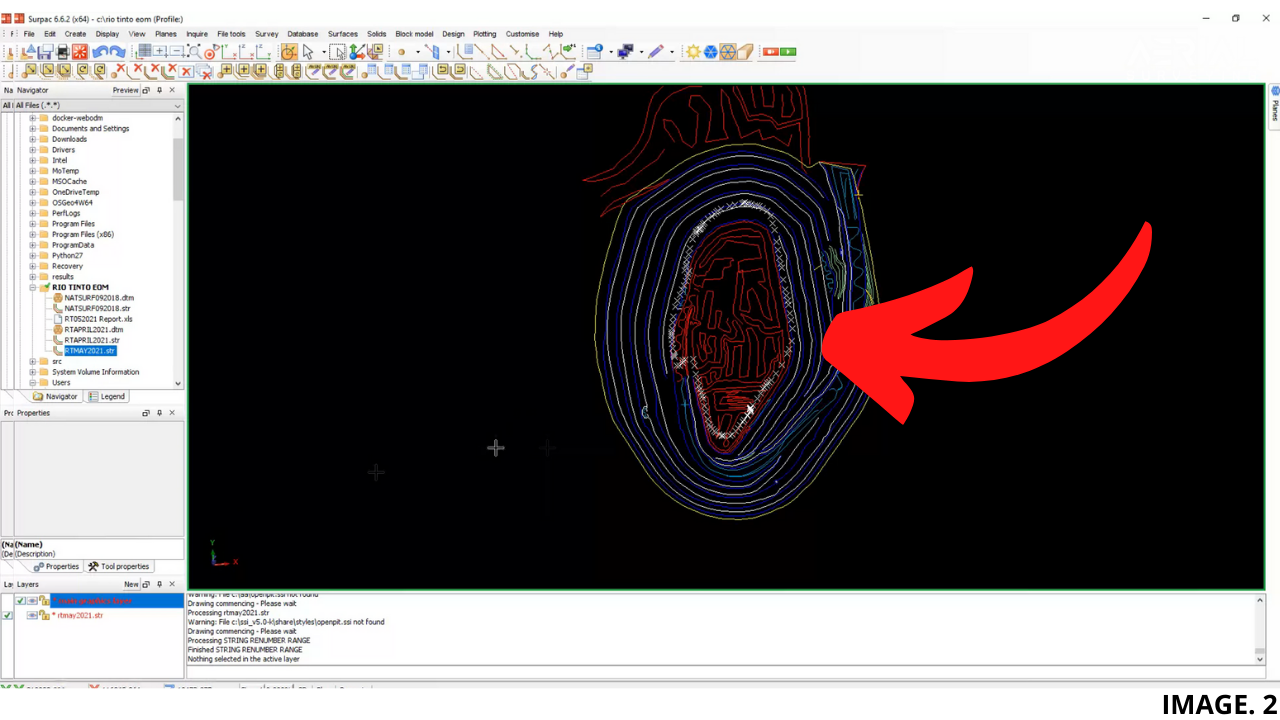
The Next Step is to Trim the Existing Model from the, ‘Old’ or, ‘last months’ Pit Floor.
To do this we select; EDIT >> TRIM >> CLIP BY DIGITISED SEGMENT.
We can then begin to carefully, ‘clip’ or. ‘Trim’ our Model.
To Achieve the Best Results, and thus Ultimately the most Accurate End of Month Volume Reporting; the Model must be Trimmed as clean as possible, to combine or, ‘Splice’, the Two Models together.
TIP: ‘Learn More About Splicing in Surpac Here’.
This Process can therefore take some time, as you work your way through the Model. Once Finished, you then Press ESC, and a New Option will Appear.
The Tab will ask you if you want to delete Everything INSIDE or OUTSIDE of the Boundary. In the case of the Open Pit, you will want to Select the Option to Clip or Delete Everything INSIDE the Boundary.
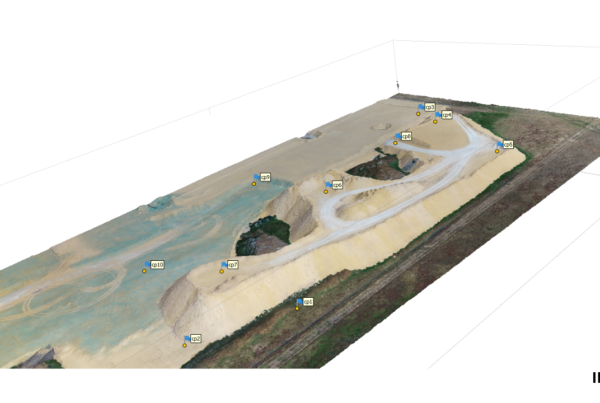
This is the Start of our Newly created Whole EOM Model.
Image. 2 shows the Two Models together as one, as the old Pit Floor has been Cut-out or, ‘Trimmed’:
Cleaning:
The Next Step is to first Save Both Models as One, then begin the Cleaning Process.
This Process is required in Surpac to ensure that no left Strings, from our Cutting Process, are still interfering with our Volume Calculations, later down the Track.
To make this Process much easier, we will create a, ‘Fast DTM’ over our Model for Temporary Purposes.
We will do this by selecting; SURFACES >> CREATE A DTM FROM LAYER >> (Ensure Perform Breakline Test Box is UNCHECKED) >> APPLY.
Now we will see that a DTM File has been created. Once this has been Applied to our Model, we can Zoom in and Look for Inconsistencies.
TIP: ‘More Info on Creating a DTM in Surpac’.
Such Inconsistencies include, broken TOEs & BERMs, where the Strings have not been properly Spliced.
To Rectify these Issues, it is necessary to Break, Join, Create and Delete Strings and Segments.
Common Boundary String:
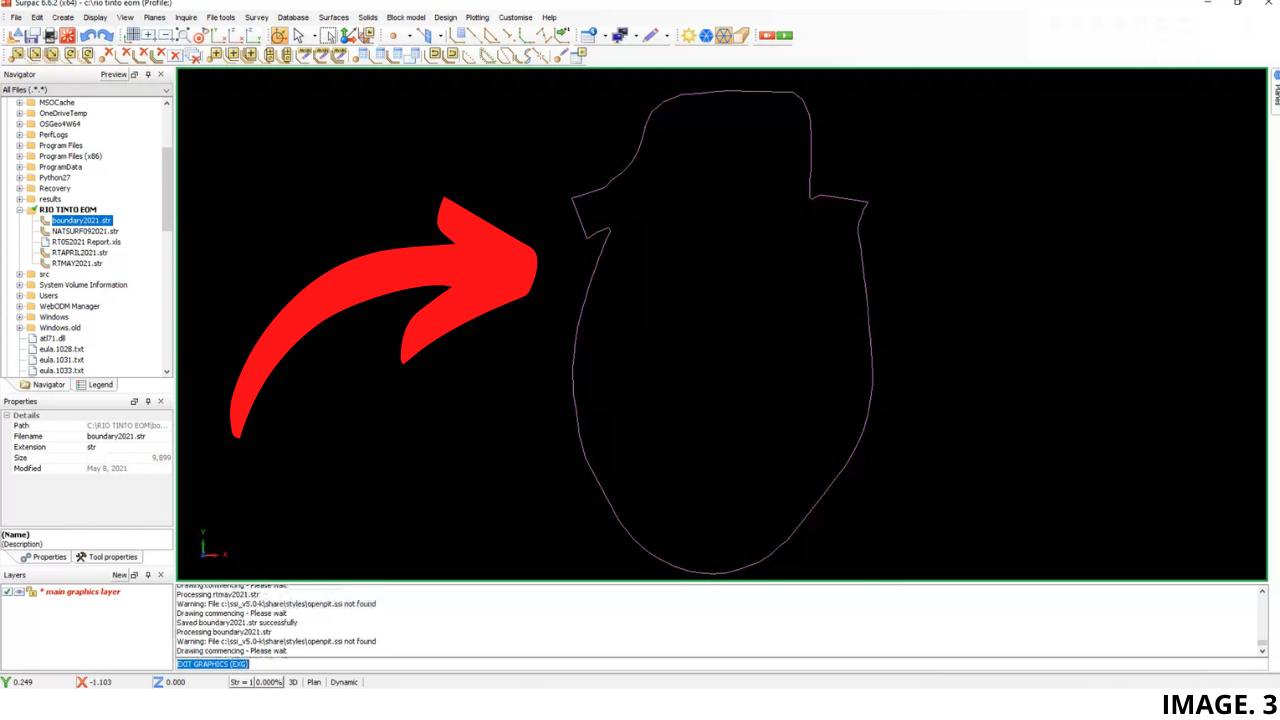
In order to maintain Accuracy, it is Good Practice in Surpac to have a, ‘Common Boundary’, that can be used and correctly Fits all of your Open Pit Models.
Save the String by itself, by typing in the String Number only, into the Save option. Ensure it is Saved as a String File, and call it BOUNDARY.
Image. 3 shows the saved Common Boundary String Only:
Now it is time to create our Final DTMs that will be used in our End-Of-Month Reports.
The Boundary String must be Applied to x3 Models in Total;
- This Month’s Pickup
- Last Month’s Pickup
- First Pickup, (Natural Surface)
Volume Reporting:
For Quality Control, the Above Video, shows Volumes taken by 3 different Methods. They include:
- Volume 1: Net Volume between DTMs (Natural Surface – Pit Floors x 2)
- Volume 2: Net Volumes between this and Last Months DTMS (No Natural Surface)
- Volume 3: Volumes Split by Elevations every 5m (Using a Sections Model Method)
All of the Values Calculated are then added to the End of Month Report, usually in a Spreadsheet. The Spreadsheet will usually contain last month’s Values, so they can be compared, and new valued calculated.
The Key to the Quality Control checks here is that all 3 Volumes Calculation Methods, should be the same Values when scrolling down the Spreadsheet.
Volumes 1 and 2 are Calculated by Selecting; SURFACES >> VOLUMES >> NET VOLUME BETWEEN DTMs.
Elevation from Sections Model:
Volume 3 is Calculated from a Sections Model. This is Selected by; SURFACES >> DTM FILE FUNCTIONS >> CREATE SECTIONS FROM DTM.
But First we must create an Axis Line, which will run from North to South. We can Draw the Line by Selecting; CREATE >> DIGITISE >> NEW POINT.
Once the Axis has been Established, the Coordinates of the Line must be Inquired, so they can be entered.
Once the Sections String has been created, we then find our Volumes by selecting; SURFACES >> VOLUMES >> BY ELEVATION FROM SECTIONS.
TIP: ‘More Info About Elevations From Sections’.
Image. 4 shows the Section Model created by Surpac:
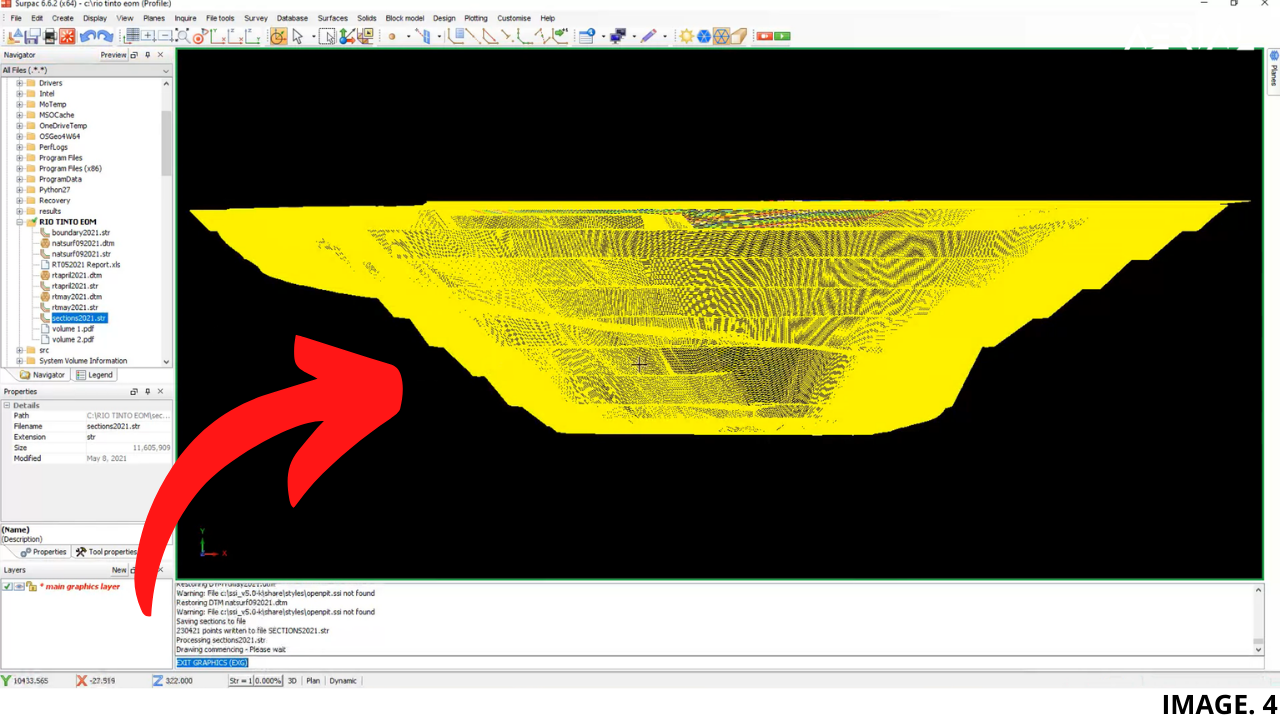
Here we can then establish a Top and Bottom Elevation, and also by what Intervals. A .PDF will be created with a table of all Volumes between each 5m Elevation of the Open Pit.
Once all Values are entered into your EOM Spreadsheet, each Volume Totals should Equal the same Value.


Recent Comments