


INPUT FILE TUTORIAL
What is an INP File:
.INP Files being Invented by Dassault Systems, are thus are very popular for use in Surpac.
An .INP File is essentially a type of ASCII Data File and are designed to be specifically utilized by Abaqus engineering simulation and analysis software. Abaqus is a program that offers answers to a number of highly complex Engineering problems used today by a number of Industrial Applications.
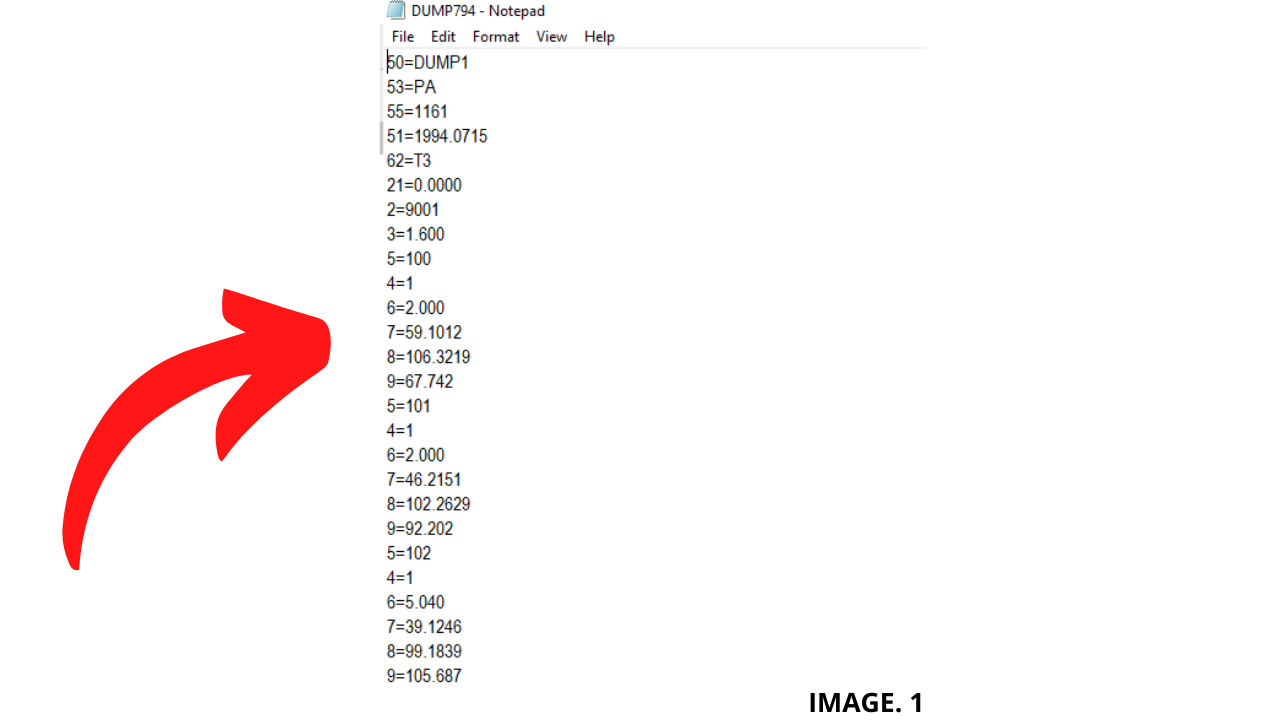
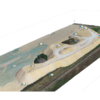
Image 1. Shows what the Raw Data contained in a .INP File looks like:
Structure of a .INP File:
The Structure contains Keyword-Lines and Data-Lines. This Structure is then further divided into two types of data known as History-Data and Model-Data.
The Model Data consists of the Composition of the Data being processed.
The Makeup of Model Data includes Sections and their Nodes, or Nodal Data.
TIP: ‘Find Out in Detail About the Structure of a .INP File’.
The History Data consists of the order of Occurrence of the Data being processed.
In Surpac Database Setup:
Surpac cannot Process an .INP File if a Database has not already been setup. The purpose of a Database is to enter the Control Data contained in your Survey. And thus the Program will then easily be able to Scale and orientate the rest of the Points contained in the .INP File.
Therefore to begin the processing of an .INP File, we must first create a Database in Surpac.
We do this by selecting; SURVEY >> SURVEY DATABASE >> NEW/OPEN.
Surpac will then ask you to give a Name to your New Database, with a Number of other Options that are Default. Hit Apply 5 Times to Scroll through these Options, checking as you go. (Most are by Default, Standard Settings).
TIP: ‘See How to Create a Geological Database in Surpac’.
You will now see that a New Database has been created on the Bottom Left Hand Side of the Screen.
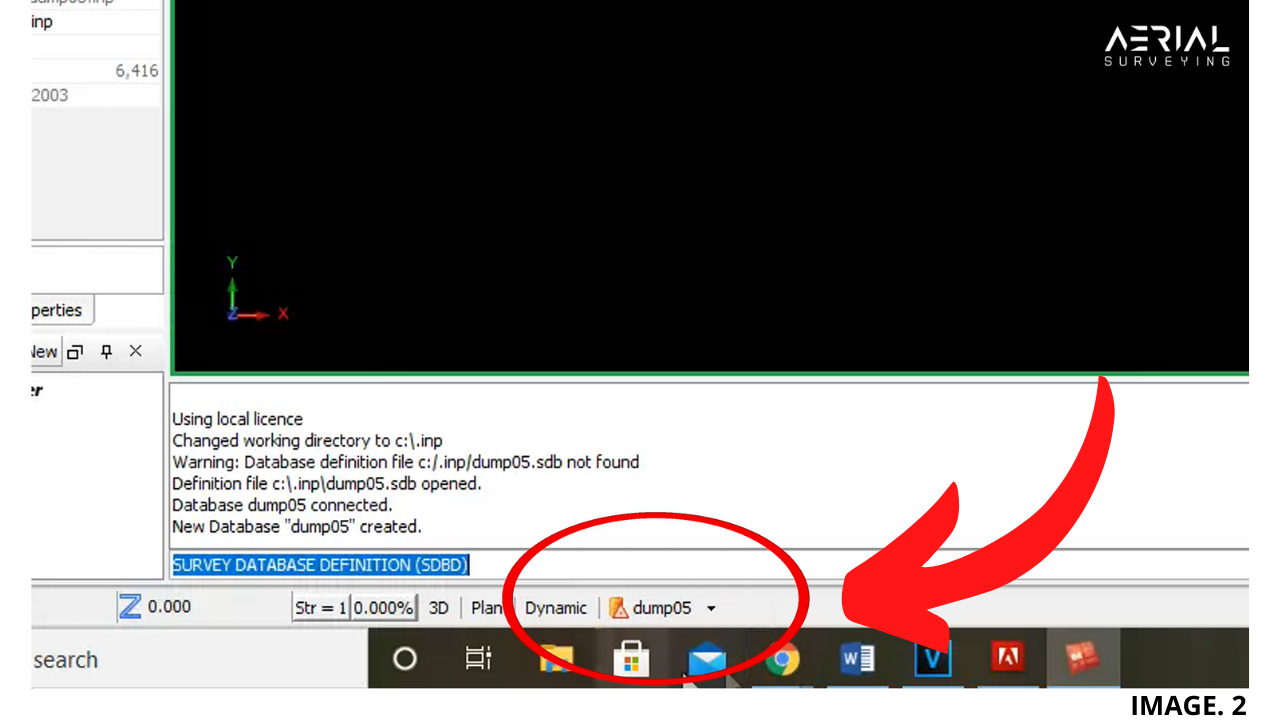
Image 2. Shows the creation of a New Database in Surpac:
Edit Database:
The Fields of your Database Now need Editing, in order to Process your Information more efficiently.
Do this by Selecting; SURVEY >> STATIONS >> INSERT RECORDS.
You will then be prompted to select your Table Name. Hit Apply. Then you will see around 18 Fields for your Database that need to be edited.
For this Process you will need to most likely delete Fields which do not apply to your Data Collection.
Do this by Right Clicking on a Field and Selecting; REMOVE. Do this for each Field.
Once Finished; Hit Apply.
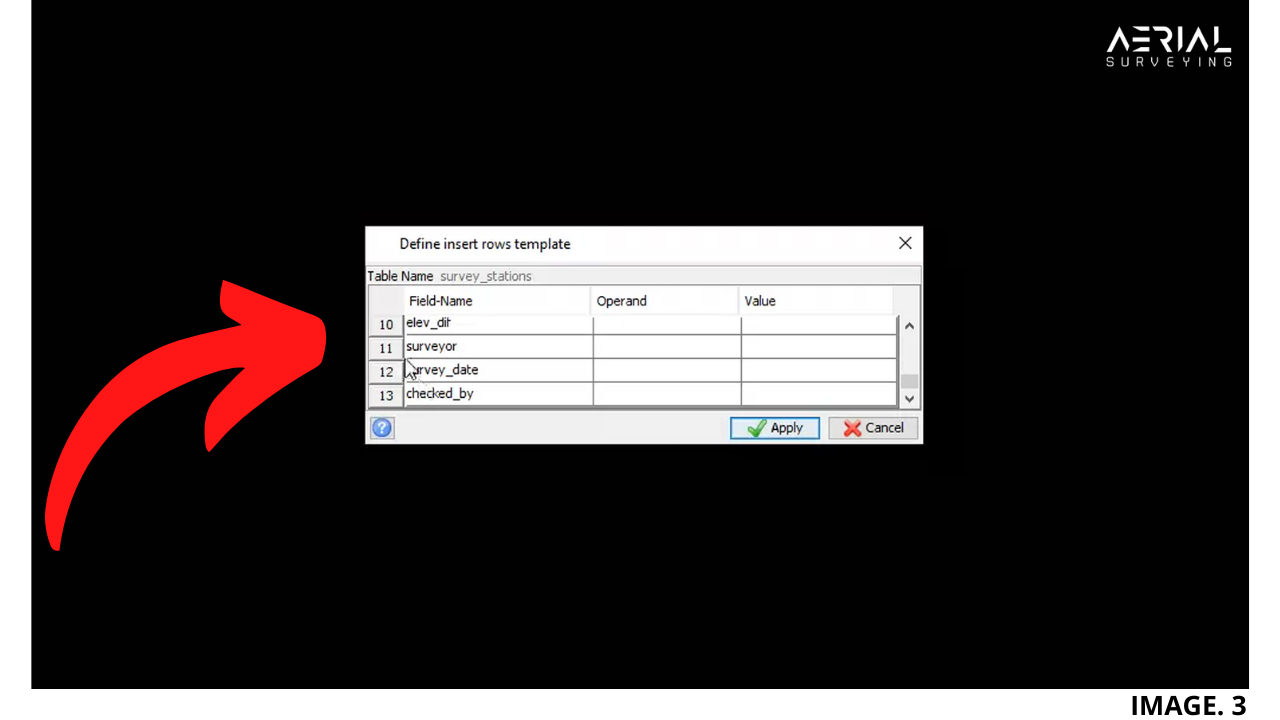
Image 3. Shows the Field Editing Tab for a Database in Surpac:
Insert Control Data:
For your Model to be Accurately Processed, Surpac requires your Database to contain the Control Data.
Therefore, depending on how many Control Stations you have, the Database requires a New Row for each Station.
Then you need to go through and enter each Additional Piece of Information for each Station, for each Field of your Database.
Once Finished, Hit Apply.
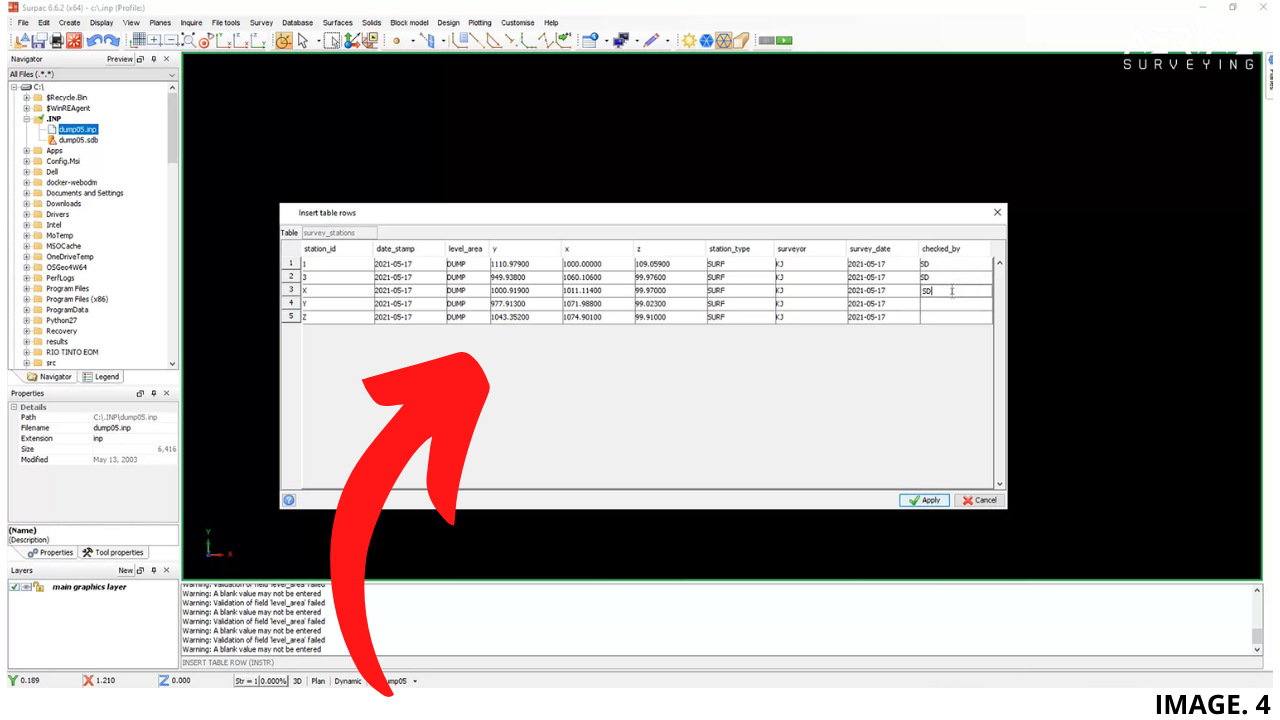
Image 4. Shows Control Data being entered into a Database in Surpac:
Process .INP File:
Everything is now ready to Process the .INP File.
To do this, select; SURVEY >> DATA RECORDERS >> GEODAT 400 (Or whichever data Recorder was used to collect the Information).
You will then be prompted to select the option to Process Input File. Also you will need to select your .INP File from the correct location on the Server. Hit Apply. Enter the Correct Name & Date, Hit Apply. Enter Job Name, Hit Apply again x 3.
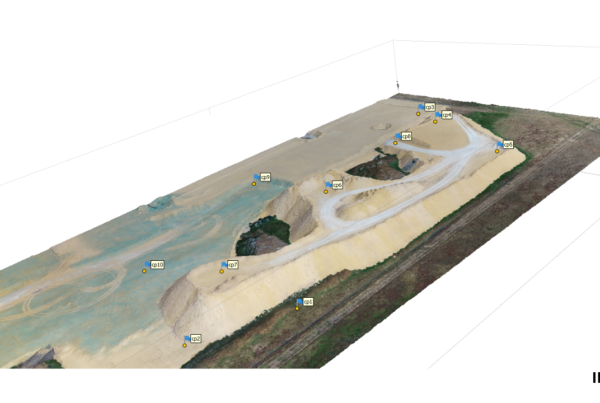
You will then see a New String File Created, from all of the Data in your .INP File. Check your String File by Dragging into the Surpac Workspace.
Image 5. Shows, a newly created .str File from the .INP File and Database:

Conclusion:
Once the .str File has been created you can then see your results Visually which is a Great Feature in Surpac.
You can then Perform a, ‘Fast DTM’ to Further Visualise any Discrepancies in your Data Collection.


Recent Comments